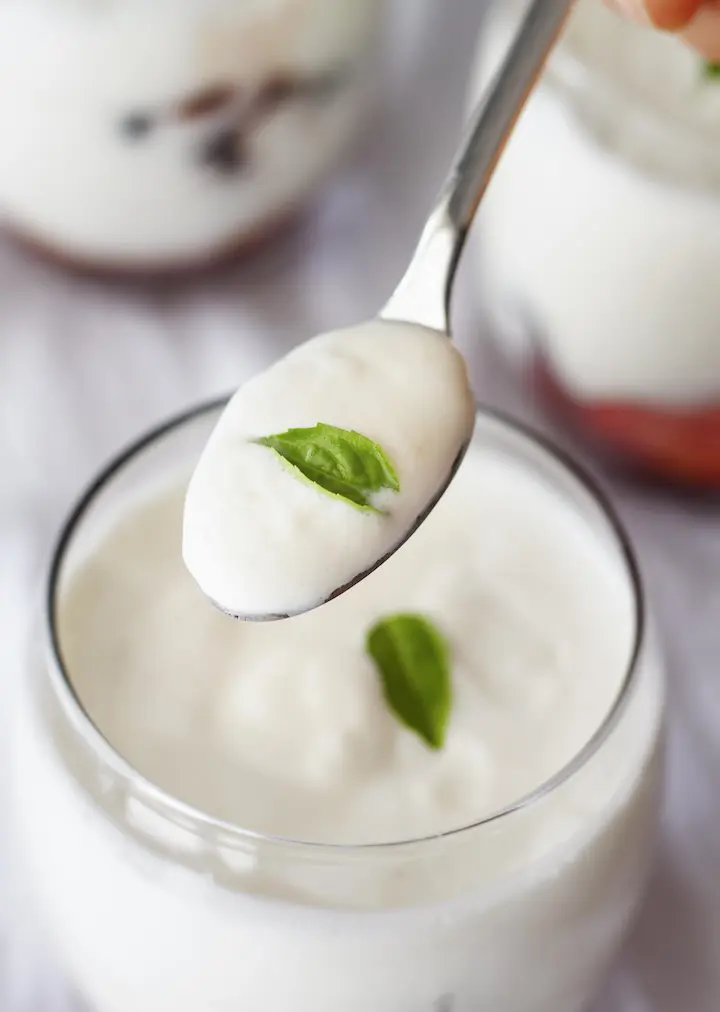
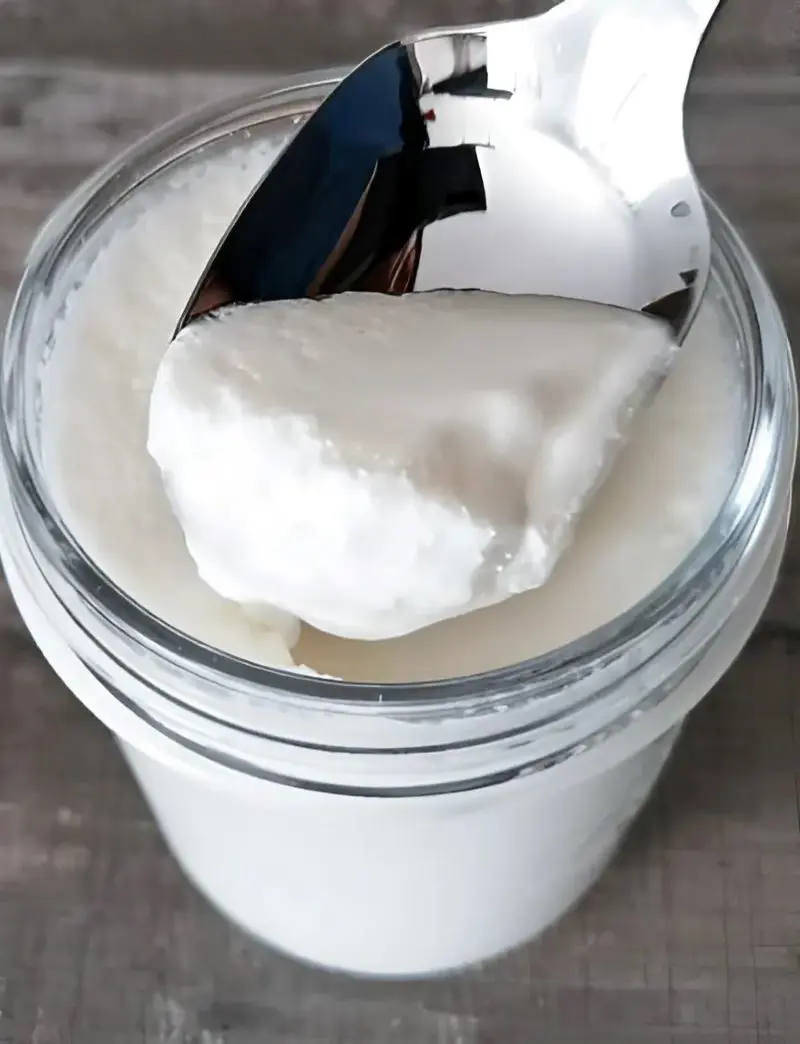
Think making yogurt at home is tricky? Think again! It's simply one of the easiest kitchen tasks you can try - like watching milk transform into creamy, scrumptious yogurt right before your eyes.
All you need are some supplies and a touch of patience. You will have fresh, creamy yogurt that tastes better than its store-bought counterpart! Whether you've got a yogurt maker or not, this guide will prepare you to start the tasty journey.
What You'll Need To Make Yogurt At Home
You don't require fancy appliances or any special components to ferment yogurt yourself. In reality, most of what you need might be already in your kitchen.
Once you master this easy approach, you can constantly have rich, smooth yogurt on hand, and you may customize it exactly how you like. Let's take a look at the essentials you will want:
Ingredients
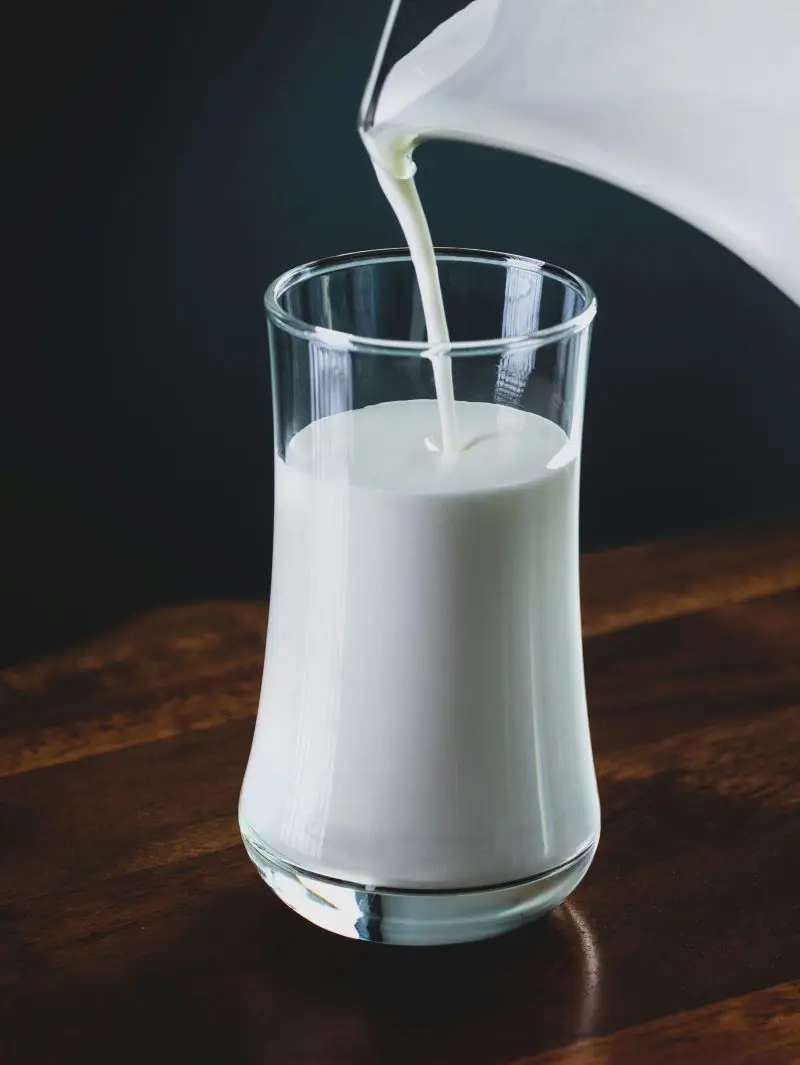
Milk: While you can use any type, whole or 2% milk creates the richest, creamiest yogurt - perfect if you love that thick, luxurious texture. If you prefer a lighter version, skim milk works too. Just keep in mind that lower-fat milk results in thinner yogurt.
The Starter Mix: You'll want two big spoonfuls of plain yogurt for each quart of milk you're using. Here's the important bit: grab a yogurt that says 'Live Active Cultures' on the container - these are the good bacteria that transform your milk into yogurt. You can use both plain Greek or regular yogurt (simply avoid any flavored ones), or if you opt for it, grab a packet of starter culture powder from your nearby health food store.
Equipment
Heavy-bottomed saucepan
Thermometer
Whisk
Jars or containers
Incubation method
A yogurt maker
An oven with the light on
How To Make Yogurt From Yogurt Maker
Making yogurt by using the yogurt maker is one of the easiest ways to make this dairy product. It is fairly well known among home cooks because the machine controls the right temperature all through the process – no guesswork!
The outcomes are consistently smooth, creamy, and quality yogurt that rivals any packaged version.
Instructions
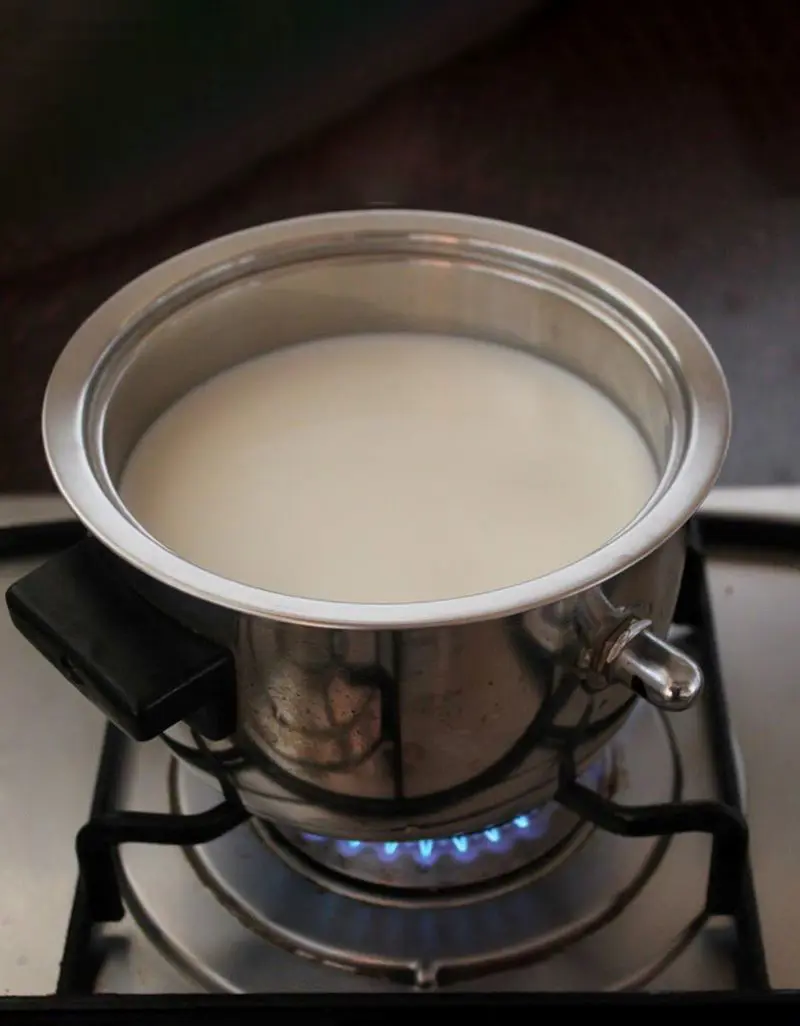
Step 1: Initial Prep
Pour your milk gently into the large pot, heat it up to 180°F. This is a strategic step, it is like creating a clean slate by eliminating any undesirable bacteria. To monitor temperature use an instant-read thermometer.
The heating procedure also helps create thicker yogurt by changing how the milk proteins behave.
instagram
Step 2: Cool It Down
Let your milk cool gradually to 112-115°F. This creates the perfect cozy environment for your good bacteria to thrive. During cooling, give the milk an occasional gentle stir to prevent a skin from forming on top.
You want this temperature to be just right! Too hot and you'll harm those starter cultures; too cool and they'll become lazy and won't multiply properly.
instagram
Step 3: Introduce the Starter
Take one cup of your warm milk and mix it with either 3 tablespoons of plain yogurt or your starter culture. This is where the transformation begins!
Make sure your starter contains active cultures like Lactobacillus bulgaricus and Streptococcus thermophilus - these are your yogurt-making champions.
instagram
Step 4: Mix and Pour
Gently but thoroughly stir your starter mixture back into the main pot of warm milk. Next, pour this mixture carefully into your yogurt maker's clean jars, trying to avoid creating air bubbles that might affect the texture.
Fill each jar to the recommended level, leaving room for any expansion.
Step 5: Incubate
Set your yogurt maker for 7-9 hours. The longer you wait, the tangier and thicker your yogurt turns into. During this time, your good bacteria are working hard, multiplying and transforming your milk into silky yogurt.
Many yogurt enthusiasts find that 8 hours hits the sweet spot for perfect texture and taste.
instagram
Step 6: Chill and Set
Once incubation is complete, carefully transfer your jars to the refrigerator for at least 2 hours. Watch in delight as your yogurt continues to thicken and develop its final texture.
The cold temperature helps the proteins fully set, resulting in that perfect, spoonable consistency that makes homemade yogurt so special. Some people even leave it overnight for maximum thickness!
instagram
How To Make Yogurt In The Oven
Don’t have a yogurt maker? No need to fear! You can use your oven as an incubator.
While it calls for a bit more attention, the process rewards you with thick, creamy yogurt that is notably fresh and satisfying.
Instructions
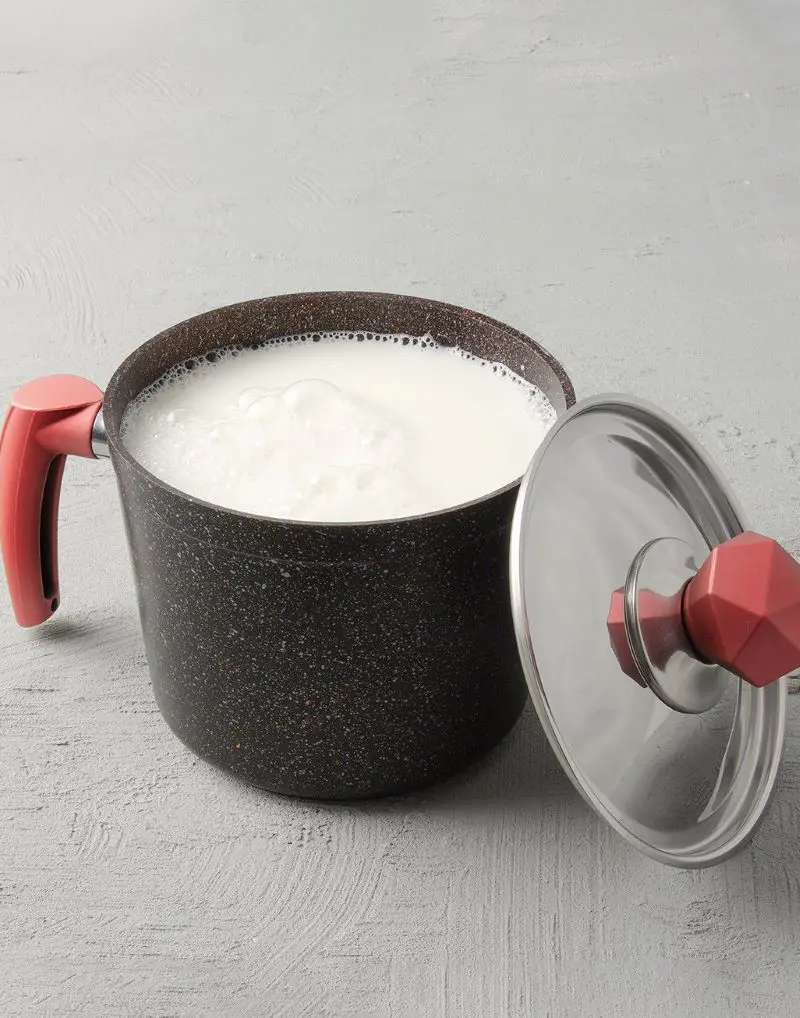
Step 1: Heat the Milk
Pour your milk into a smooth Dutch oven and heat it over medium to medium-high heat till it reaches approximately 180°F. Keep a watchful eye and stir gently.
This heating process restructures the milk proteins, making sure your final product will be thick and creamy rather than thin and separated. Watch for tiny bubbles forming around the edges, but don't let it boil!
Step 2: Cool the Milk
Let your milk cool to that perfect sweet spot between 112-115°F. This temperature range is crucial for the next step
To speed things up, you can place your Dutch oven in an ice bath, stirring occasionally. Keep an eye out for any skin forming on top - you can either stir it back in or enjoy it as a chef's treat!
Step 3: Add the Culture and Mix
Here’s where the transformation begins! Take about a cup of warm milk and whisk it with your yogurt starter until perfectly smooth, just as you would when making yogurt with a yogurt maker.
Next, gently stir your cultured milk mixture back into the main pot. Be gentle but thorough in your mixing to ensure even distribution.
instagram
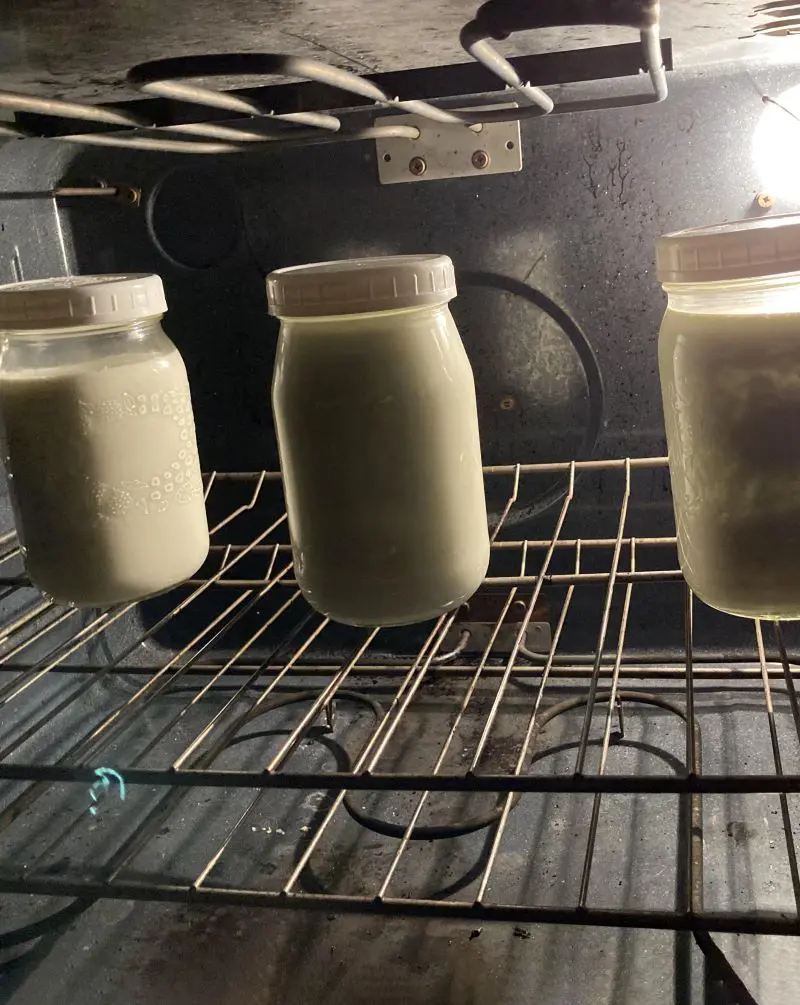
Step 4: Incubate
Place your covered Dutch oven in the turned-off oven with just the oven light on for warmth. You can also wrap it in towels for extra insulation - like tucking your yogurt in for a pleasant, warm nap.
The goal is to preserve a temperature around 110°F for 7-9 hours. The longer it rests, the tangier your yogurt turns into.
instagram
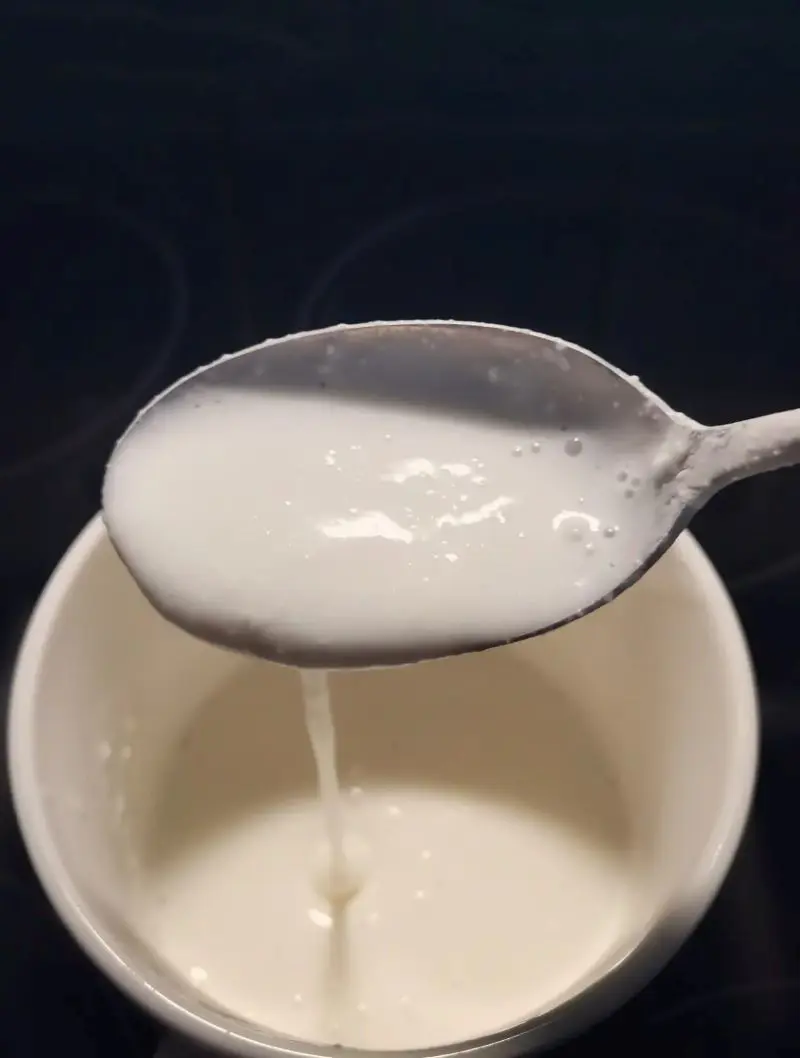
Step 5: The Final Touches
Once your yogurt has set to your favored thickness, it's time for the finishing touches. You might possibly notice some whey (clear liquid) - either drain it off or whisk it back in, depending on how thick you like your yogurt.
Transfer your freshly-made yogurt to storage containers and refrigerate.
instagram
Pro Tip: Save about 1/2 cup of your self-made yogurt to start your next batch. Just consider to begin fresh with ready-made yogurt after a few batches to hold the quality and taste.
How Long Does It Take The Yogurt To Set
The journey of yogurt setting is a fascinating process that depends on several factors. Generally, your yogurt needs about 4-10 hours to convert from liquid milk into that creamy, tangy pleasure we all love.
The sweet spot for most homemade yogurt is between 7-9 hours. During this period, the active bacterial cultures diligently multiply, converting the milk into yogurt. Allowing it to set longer will bring about a thicker and tangier final product.
Temperature plays a vital role in the incubation process. If the environment stays always warm (around 110-115°F), your yogurt will set more efficiently.
Here's a helpful timing guide to achieve your preferred yogurt style:
4-6 hours: Mild, softer yogurt with a gentle tang
7-8 hours: Medium-set yogurt with balanced tanginess (most popular choice!)
9-10 hours: Thicker, tangier yogurt
10+ hours: Very thick, quite tart yogurt
Remember, even after your yogurt has set, it needs about 2-3 hours of chilling time in the refrigerator to reach its final, perfect consistency. During this cooling period, your yogurt continues to thicken and develop its texture.
The beauty of making homemade yogurt is that you can experiment with these timing windows until you find your perfect balance of thickness and tanginess.
Some yogurt enthusiasts even let their yogurt set overnight, waking up to a beautifully cultured breakfast treat!
Tips For The Best Homemade Yogurt Recipes
instagram
While you can use any type - whole, 2%, or skim milk - remember that higher fat content means thicker yogurt. Whole milk creates rich, creamy yogurt, while skim milk gives you a lighter version. Even goat's milk works great!
Your first batch might taste tangier than you expect - it really is totally normal! Commercial yogurt often contains additional sweeteners that override the taste of yogurt. Allow your palate to get used to this natural, organic flavor.
Craving extra sweetness? Easy fix! Just stir in a splash of pure maple syrup (1-2 tablespoons) while you're mixing everything together. Here's a family secret: a few drops of real vanilla extract or the tiny seeds from a fresh vanilla pod will give your yogurt a deliciously sweet taste without dumping in more sugar.
Don't stress if your yogurt dips under 110°F during the waiting period! It might take a bit longer to set and be slightly looser, but those hardy bacteria will keep working. Many yogurt makers find their batch still registers around 100°F even after overnight incubation.
Wait to add your favorite fruits until after incubation. Adding them too early can interfere with those bacteria doing their job.
Love thick, creamy Greek yogurt? Simply strain your finished yogurt through cheesecloth until it reaches your desired thickness.
Save a few spoonfuls of your homemade yogurt to start your next batch - it's like passing on a family tradition! Any plain store-bought yogurt with active cultures works too.
Homemade Yogurt Recipe Variations
Classic Greek-Style Yogurt
Want that extra thick, creamy texture? Pour your finished yogurt into a cheesecloth-lined strainer or use coffee filters in a fine mesh strainer.
Pop it in the fridge - 2-4 hours gives you thick, creamy yogurt while leaving it overnight creates that rich Greek-style texture. Don't toss the drained liquid (that is whey) - it's fantastic in smoothies and bread recipes!
Vanilla Bean Yogurt
Stir in the tiny black seeds from a fresh vanilla pod or splash in 1-2 teaspoons of pure vanilla extract while your milk cools. You'll get this wonderfully sweet, fragrant yogurt that works for breakfast or dessert.
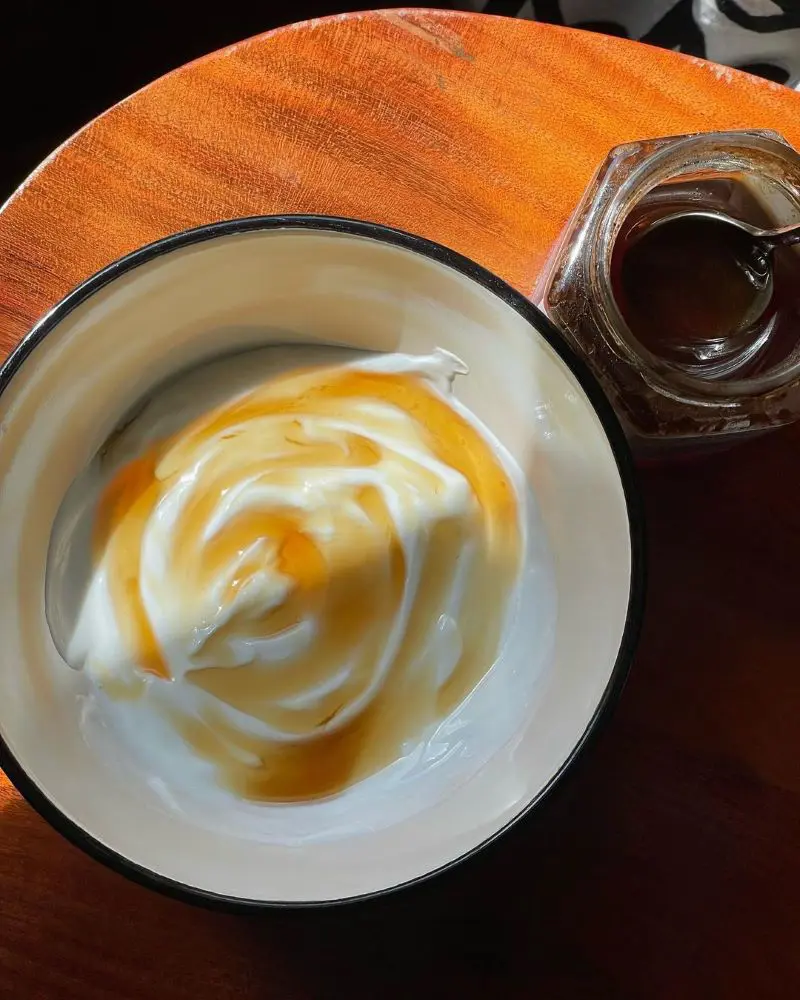
Sweet Honey Blend
instagram
Mix 2-3 spoonfuls of honey while the milk is cooling down. The honey's sweetness perfectly balances the yogurt's tang. Each honey variety brings something special - try orange blossom, lavender, or wild meadow flower!
Tropical Coconut
Pour in 1/2 cup of the thick, full-fat canned coconut milk with your regular milk before heating. This creates a lovely island-inspired flavor. Top with fresh mango chunks and crunchy granola for a breakfast that feels like vacation!
Coffee-Flavored
Stir a couple spoonfuls of instant coffee into your warm milk while it's cooling down. Talk about a breakfast upgrade - it's your morning coffee and yogurt rolled into one! Great for breakfast or when you need an afternoon boost.
Fresh Citrus Twist
Once your yogurt's set, grate in some fresh citrus peel - lemon, orange, or lime all work beautifully. The zingy flavor works magic in both sweet and savory recipes.
Try pairing orange zest with a honey drizzle, or sprinkle lemon zest over fresh berries!
Herb-Flavored
After setting, mix in finely chopped fresh herbs like mint, basil, or dill. This savory version works great as a dip, sandwich spread, or topping for grilled vegetables. Try mixing in some garlic for a tasty tzatziki-style spread!
Probiotic-Boosted Yogurt
Break open 2-3 probiotic pills and blend them in together with your starter culture. This super-charged version gives you greater gut-health benefits. Just ensure to use plain probiotics without any introduced ingredients.
Remember:
Always add flavors at the right time (most during cooling or after setting)
Start with small amounts and adjust to taste
Store flavored varieties in separate containers
Label and date your creations
What To Make With Homemade Yogurt
instagram
Your homemade yogurt can be transformed into countless delicious creations! From breakfast treats to savory dishes, this versatile component provides creaminess, tang, and nutrition to everything it touches.
You can enjoy it simple and pure or dress it up with endless combinations of fruits, nuts, honey, or herbs. Here are some popular, delicious serving ideas to try:
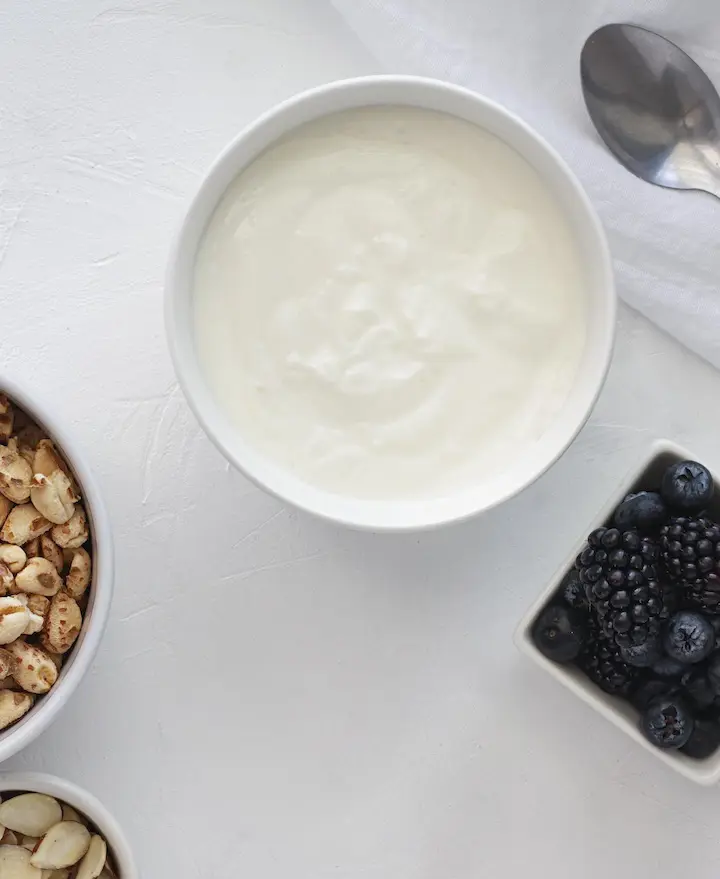
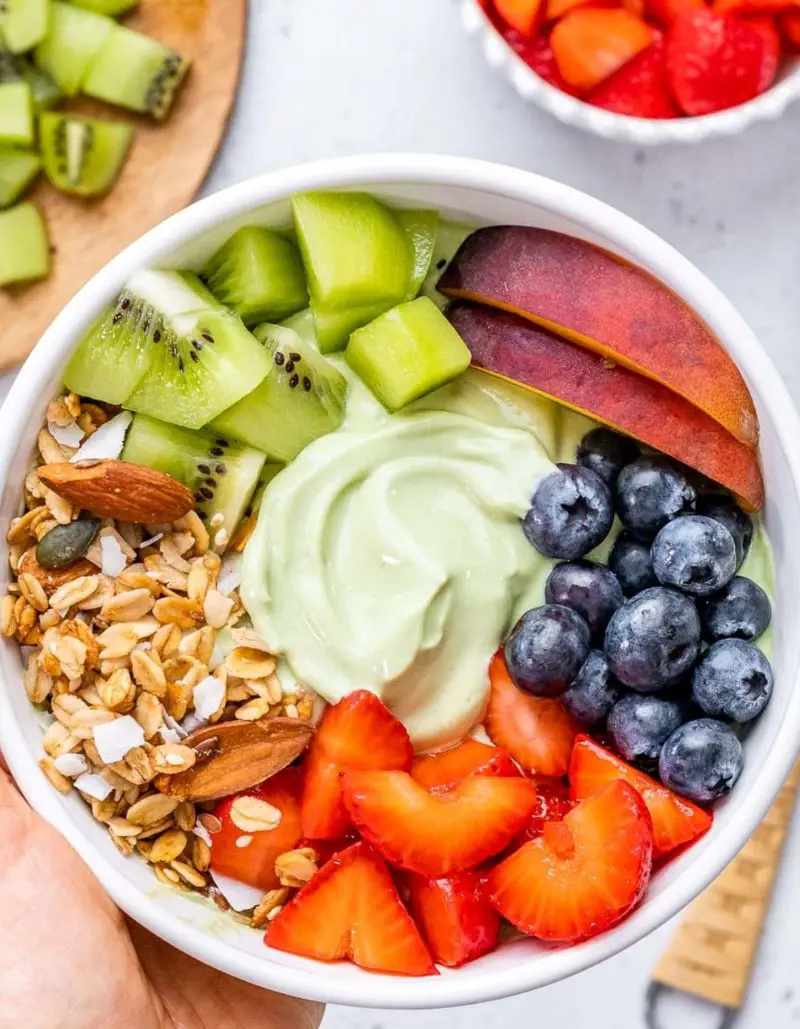
Breakfast Bowls
Need a healthy breakfast fix? Scoop out a big dollop of yogurt, pile on some sliced bananas, berries, or juicy peaches, scatter your favorite granola or crunchy nuts, and finish with a honey drizzle.
Switch up your toppings each morning to keep things exciting!
Overnight Oats
Equal parts yogurt and oats, topped with your choice of fruits and nuts, plus a good splash of maple syrup. Pop it in the fridge overnight and tomorrow's breakfast is sorted.
The yogurt makes everything super creamy with its lovely tangy kick. You can also add some cocoa powder and banana for a chocolatey twist!
Dips and Spreads
Transform your yogurt into savory dips by including herbs, garlic, and spices. Mix in cucumber and dill for tzatziki or go for herbs and lemon zest for a veggie dip.
These make perfect accompaniments for vegetables, chips, or pita bread. They're also great as sandwich spreads!
Baking
Use yogurt to make super moist cakes, muffins, and quick breads. It adds this amazing tenderness and subtle tang that takes baking to the next level. Swap it for sour cream or buttermilk in your go-to recipes. Makes the fluffiest pancakes ever!
Marinades
Make incredibly tender, tasty meat using yogurt marinades. The natural tang helps break down the meat while adding loads of flavor. Mix in garlic, herbs, and your favorite spices.
Works beautifully with chicken, lamb, or fish! Give it at least 2 hours for optimal results.
Parfaits
Layer yogurt with fruit compote, granola, and nuts in pretty glasses for an elegant dessert or breakfast. Create different layers for visual appeal and varied texture. Try using seasonal fruits to keep things interesting all year round!
Salad Dressings
Blend yogurt with fresh herbs and lemon juice. Also, add a splash of olive oil for homemade dressing that's really good for you. Play with different herbs to match your salad ingredients.
You get all the creamy goodness without the usual heavy stuff!
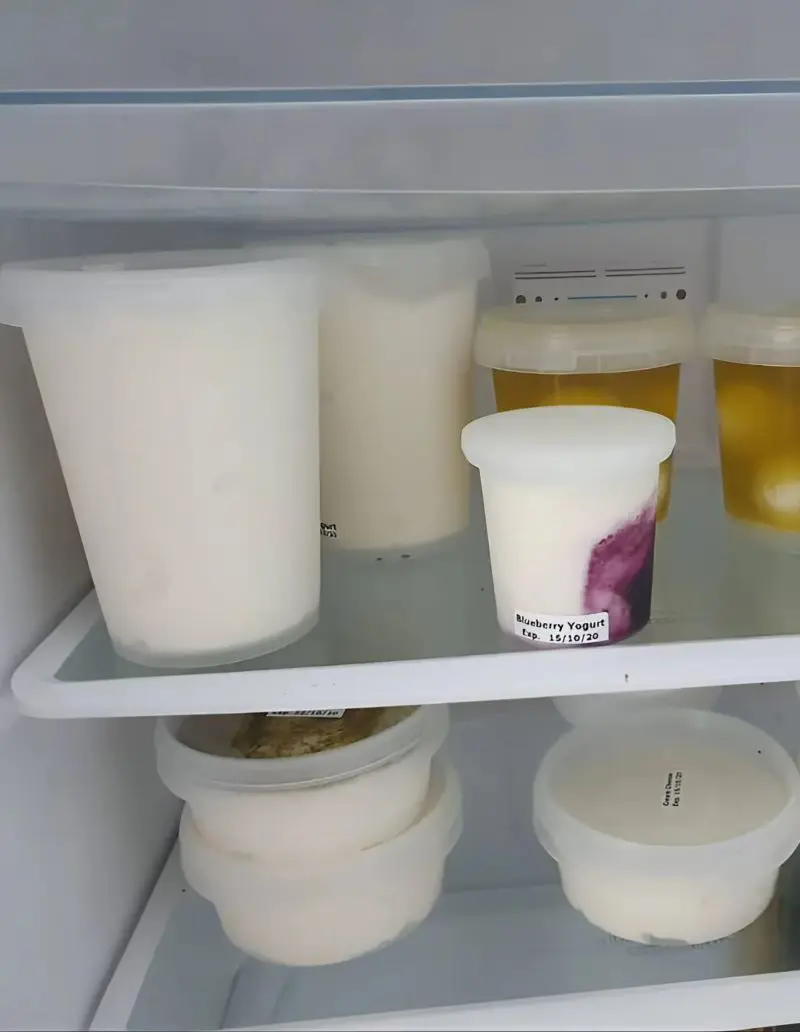
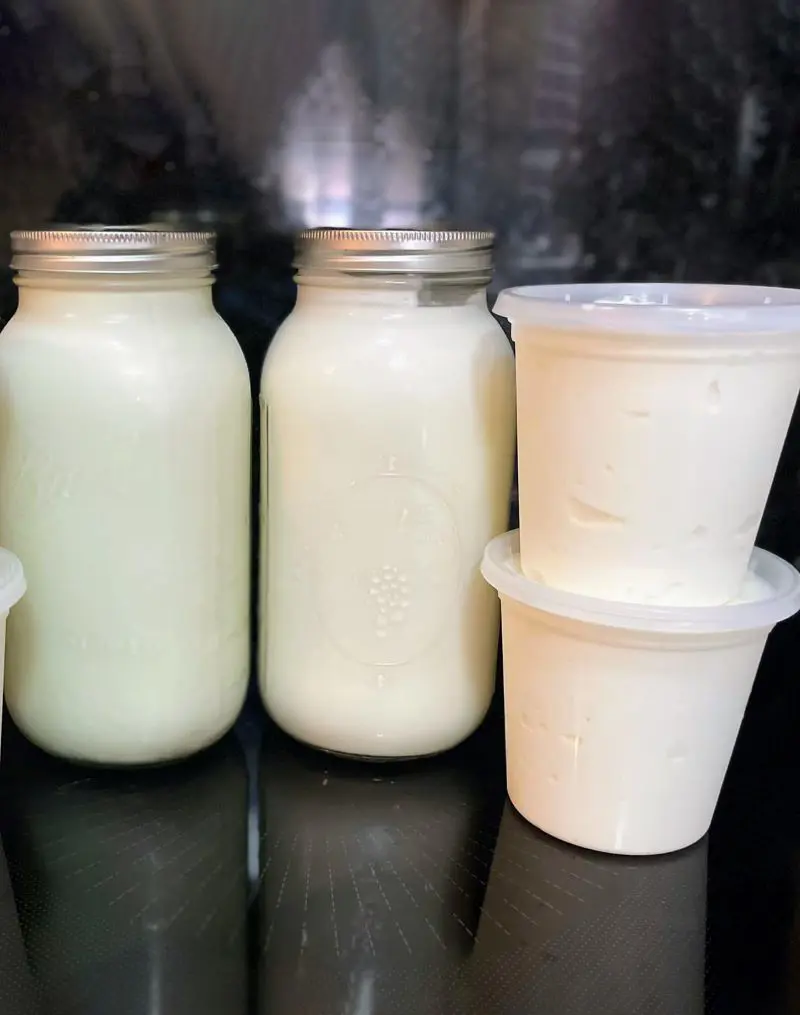
How To Store Yogurt
instagram
Storing self-made yogurt is simple! Keep it in clean, airtight glass containers or mason jars in your refrigerator at or below 40°F (4°C). Place containers toward the back of the fridge where the temperature remains most consistent.
Your yogurt will stay fresh for about 2 weeks. If you notice liquid (whey) on top, this is normal - just stir it back in or drain it off. Always use clean spoons to prevent spoilage.
Made a bunch of different flavors? Pop them in separate containers and label them with the date and what's inside. This makes it clear to keep track of freshness and varieties.
For Greek-style yogurt that you've strained, store both the thickened yogurt and the whey separately - that liquid gold can be used in smoothies, baking, or soups!
Plain yogurt tends to stay fresh longer than the flavored kinds, which makes it perfect for starting your next batch.
Want to make it last even longer? Just preserve it in the freezer for up to 2 months. Sure, it might get a bit different when it thaws out but it'll still rock your smoothies and baking projects!