A tabletop ice maker is the last thing we remember to clean after sipping that perfectly chilled beverage and tasting that funky ice cube!
The clean freak in you might be screaming at the top of your voice, but worry not, we will guide you through the procedures to clean a tabletop ice maker at home. Moreover, you will get all the supplies at your home or in your nearest convenience store.
So let's jump straight on giving your ice maker a sanitary make over.
How To Clean A Table Top Ice Maker
Having your tabletop ice maker at its best and cleanest ensures that every cube is clear and tastes great. From basic to deep cleaning measures, there are many ways to keep it clean.
While vinegar solutions, citric acid treatments, or even UV light sanitization methods can be used differently for cleaning purposes. It not only increases the lifespan of your ice maker but also guarantees cool and pure drinks every time you serve that cold beverage.
Let’s see how you can keep them squeaky clean!
1. Baking Soda Method
Baking soda is an extremely gentle cleaning tool that can serve as an effective cleaner and deodorizer for your ice machine without utilizing any harsh chemicals.
Tools needed:
Baking soda
Water
Soft cloth or sponge
Bowl for mixing
Clean and dry towels
Instructions:
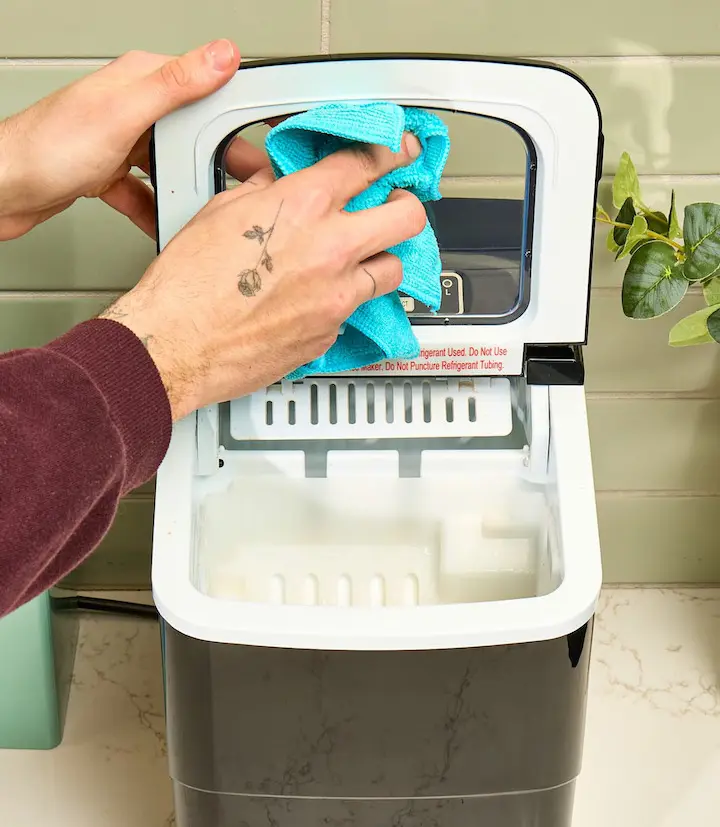
Take the ice maker plug out from the power source and take out whatever ice is inside the machine
Mix baking soda with water to form a paste
Apply it generously on all inner surfaces using a soft cloth
Gently scrub, especially corners and crevices
Allow it to stay for 10 to 15 minutes
Remove the excess paste by wiping it with a wet cloth
Rinse out thoroughly using clean water
Wipe all parts dry completely with a clean and dry wiping cloth
Run 2 to 3 cycles while throwing away the first batches of ice produced
instagram
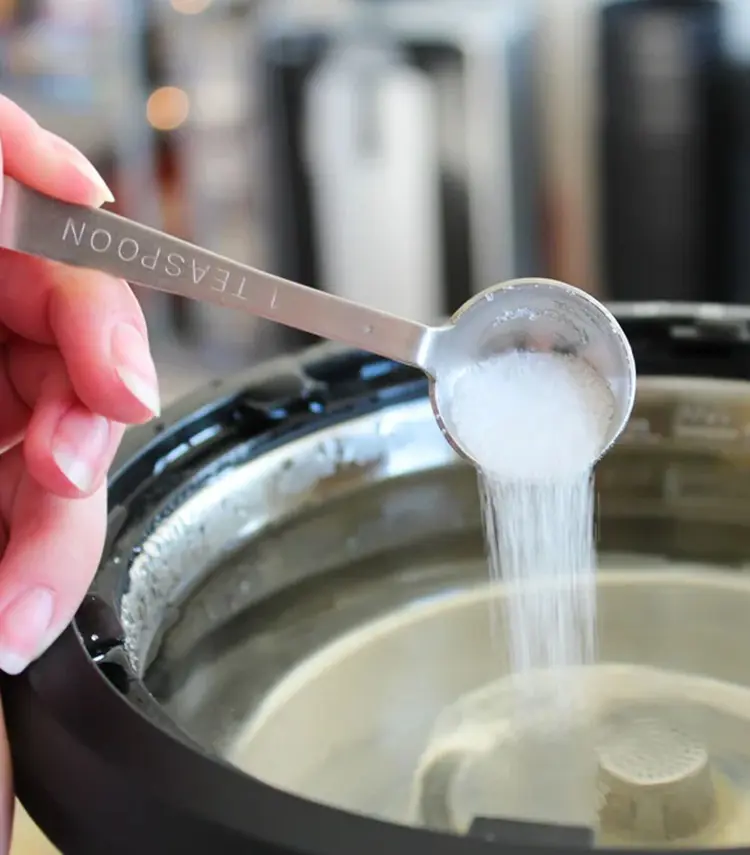
2. Citric Acid Cleaning Method
Citric acid cleaning is an efficient way to get rid of dust from your ice maker as well as disinfect it, particularly from intricate regions.
Tools needed:
Citric acid powder
Warm water
Measuring spoons
Clean cloth
Spray bottle (optional)
Instructions:
Take the ice maker plug out from the power source and take out whatever ice is inside the machine
Mix 2 tablespoons of citric acid powder and 2 cups of warm water
Pour the mixture into the water reservoir
Make ice 2-3 times then discard it
Empty the machine completely
Wipe down all surfaces with a citric acid solution
Rinse thoroughly with clean water
Run fresh water through 2 or 3 cycles to rid the machine of any citric acid residues
Wipe all surfaces dry with a clean cloth.
instagram
3. Steam Cleaning
Tools needed:
Steam cleaner
Microfiber cleaning cloths
Clean, dry towels
Sanitary gloves
Instructions:
Take the ice maker plug out from the power source and take out whatever ice is inside the machine
Pour distilled water into the steam cleaner and heat it
Put on protective gloves to avoid steam burns
Begin treating all surfaces of the ice bin with a steam cleaner
Wipe all the sections inside specifically corners and crevices that can collect dirt
If the ice maker machine comes with a brush attachment apply it on those difficult areas
Shower the water reservoir with steam ensuring every area is treated well
Do the same to the exterior of the ice maker using a steamer, especially in vents and control panels
Use a clean microfibre towel on all areas after they have been steamed up to clear any debris
For any more hard spots, re-apply steam where necessary and wipe it off again
Dry out all surfaces both inside and out with dry towels
Leave the ice maker open for some time to allow airflow
Connect back the power after a few hours once it is fully dry then run it for 2-3 cycles throwing out the first batches of ice
4. UV Light Sanitization
UV light sanitization is a method that uses ultraviolet light to kill bacteria as well as other microorganisms without the use of chemicals.
Tools needed:
UV-C light wand
Safety glasses
Clean and dry cloth
Instructions:
Take the ice maker plug out from the power source and take out whatever ice is inside the machine
Put on your safety glasses so that your eyes are well protected from damage caused by UV-C radiation
Plug the UV-C light wand to the power
The next step is to switch on the UV-C light wand that is plugged into the power
Then gradually move the wand on every surface for between 10 and 15 seconds each move. Focus on both the ice bin and water reservoir while doing this
Finally, after using UV rays wipe all surfaces properly with a clean dry cloth
Allow the ice maker to air out for 30 minutes before using it again
Run fresh water through 2 or 3 cycles before using it to make ice
instagram
5. Enzyme Cleaner
Because enzyme cleaners reduce harmful wastes and eliminate smells, they are best suited for serious cleaning of ice makers. Let's learn how you can use them in the following steps:
Tools needed:
Enzyme cleaner that is food-grade
Water
A spray bottle
Clean and dry cloth
Instructions:
Take the ice maker plug out from the power source and take out whatever ice is inside the machine
Make the enzyme cleaner solution according to the directions given
The solution should be sprayed or applied on all of the interior surfaces, especially in all corners and crevices
Allow to keep the solution for the given period (usually 10-15 minutes)
Take a cloth that is damp and clean every part
Rinse thoroughly using fresh water
All surfaces must be dried completely
Run 2 or 3 cycles and throw away the first 1-2 batches of ice
instagram
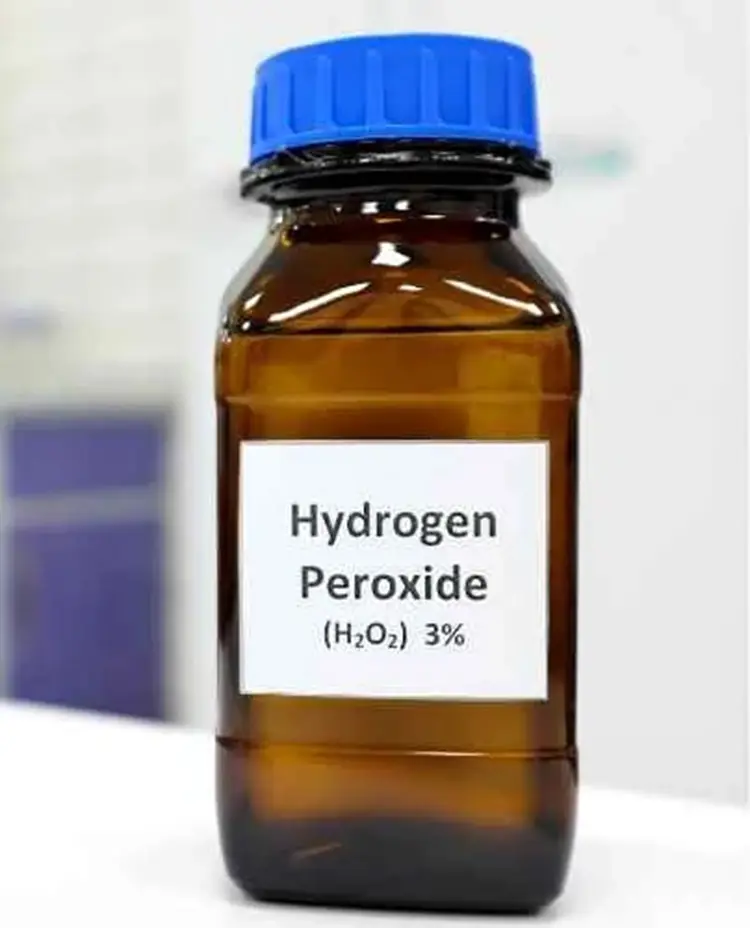
6. Hydrogen Peroxide Method
Ice makers benefit from a comprehensive cleaning that is both perfect and gentle with hydrogen peroxide. This unscented bactericide kills bacteria and mold without leaving any toxic residue behind.
Its oxygen-filled composition helps in attaining safe and total cleanliness that will not compromise the ice quality.
Tools needed:
3% Hydrogen Peroxide
Water
Spray bottle
Clean cloths
Instructions:
Take the ice maker plug out from the power source and take out whatever ice is inside the machine
Mix equal parts 3% hydrogen peroxide and water in a spray bottle
Spray the solution on all interior surfaces of the machine and the water reservoir
Keep the solution for 5-10 minutes.
Then clean and wipe the solution off with a damp cloth
Rinse thoroughly with clean water
Dry all surfaces completely
Run 2-3 cycles with fresh water, throwing the ice away 1-2 cycles
instagram
7. Dry Ice Blasting
As per the name, it might sound like a science experiment, however, it is proven to clean the ice maker thoroughly. This advanced way of cleaning known as dry ice blasting utilizes pressured air to launch dry ice substance at high pressure to clean surfaces.
This technique does not cause any abrasion and is especially suitable for removing stubborn deposits and disinfecting hard-to-reach places inside icemakers without causing any damage.
Open the air supply to the ice maker and remove all ice
Protective gear must be put on
Load dry ice pellets inside the blasting machine
Adjust air pressure and flow rate according to that of ice maker materials and the amount of dirt
The first step is to start blasting from the top moving downwards
Be very careful on corners, crevices, and places
Utilize various nozzle attachments for effective targeting of different areas
Vacuum away displaced dirt
After blasting, allow the ice maker to return to room temperature.
All surfaces must be wiped down with a clean dry cloth to remove other remaining residues
Inspect the cleaned areas or repeat blasting if there is a need for it again
Reassemble any removed parts ensuring everything is quite dry
Run 2-3 cycles with fresh water, throwing the ice away 1-2 cycles
How to Maintain the Table Top Ice Maker?
instagram
To keep your top-quality ice maker at absolutely its best state, you need to perform maintenance on it constantly. While carrying out cleaning make sure you follow the methods that were recommended by the manufacturers themselves at intervals.
This will help in preventing any kind of mineral deposits from forming inside the machine apart from ensuring that all water used is filtered like in other cases where drinking water is involved.
The ice bin must also be adjusted frequently. It also needs to be used for proper inspection of components including wear-down balances, avoidance of overloads, and seasonable care.
Avoiding maintaining your tabletop ice machine may cause many issues. Poor ice quality may be noticed with cubes that are cloudy or taste strange. The efficiency of the machine will probably decline, hence producing slower ice and increasing electricity bills. Bacterial growth as well as mineral build-up are health risks also that will block components.
If proper care is not taken, parts might wear out sooner, causing breakdowns to happen regularly and expensive repairs too. Poor maintenance ultimately results in shortening your life span on the tabletop ice maker.
Here are some of the measures you can take:
Use filtered or distilled water
Ensure proper ventilation
Empty and clean ice bin often
Check for leaks
Descale in hard water areas
Inspect and replace worn parts
Don't overload the machine
Drain and dry if unused for long periods
Call for professional maintenance
How Often To Clean?
Daily Cleaning: For hygiene and to keep ice fresh and clean, daily cleaning is important. This routine requires throwing away unused ice to prevent oldness, wiping exterior surfaces to remove fingerprints and dust, and washing the ice scoop.
As a result, bacteria do not multiply, it looks clean all the time, and each batch of ice is fresh and usable.
Weekly Cleaning: Weekly cleaning focuses on spots in direct exposure to ice and water. In particular, this involves scrubbing the ice storage bin, the water reservoir, and door seals.
By taking care of these sections every week, you will stop the accumulation of minerals, mold, and bacteria on them. Comprehensive cleaning of ice-making machines prevents the formation of debris and ensures that they work hygienically so that safe and clean ice can be made for your beverages.
Monthly Cleaning: Ice makers are best maintained through monthly cleaning because this is a detailed service that will keep them working effectively for years. Cleaning solutions with special ingredients are used in the machine to initiate a cycle of cleaning, descaling would also be done to get rid of mineral deposits while filters can either be replaced or washed.
This extensive work guarantees that there would be no more places where the accumulation of dirt and bacteria can happen so that all parts can function well. With continuous maintenance every month you can avoid problems that arise after some time and the ice maker can produce pure ice all the time.
When Necessary: This involves cleaning that is done right away because of smell, discolored ice, or any other visible dirtiness. It also includes sanitizing after periods of deep cleaning.
This adaptable method for cleaning makes sure that your ice maker always gives clean ice.
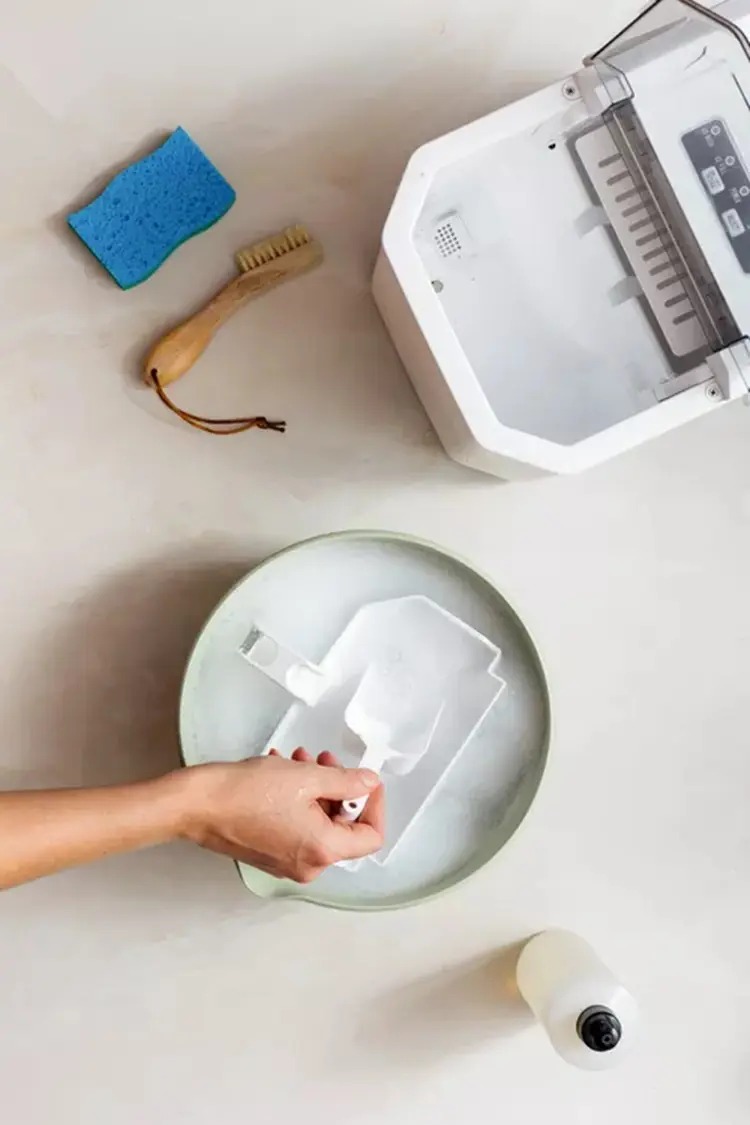
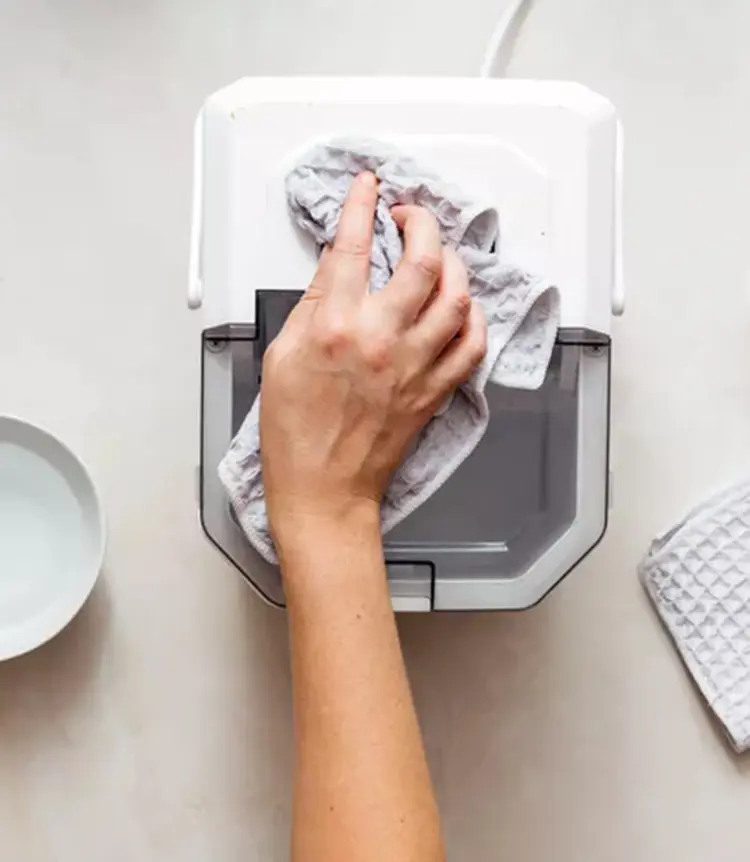
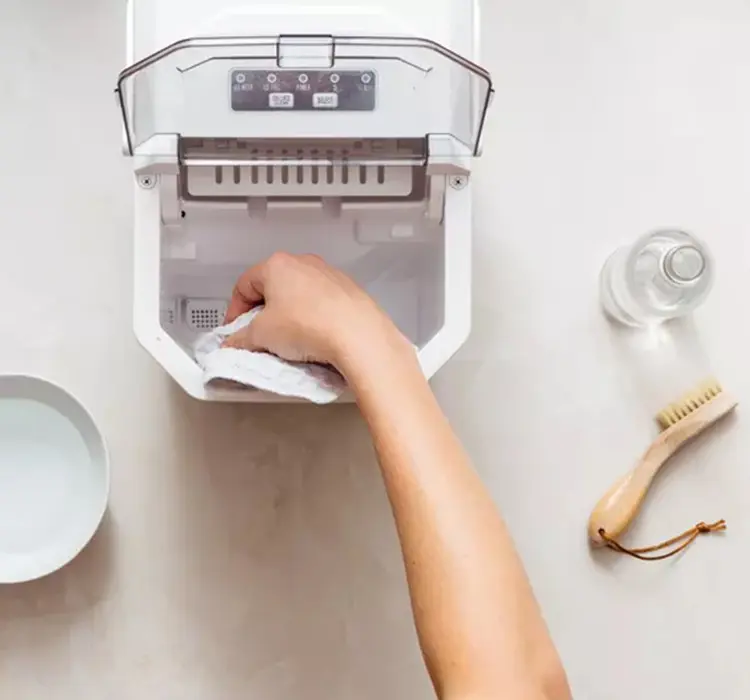
Tips to Clean Your Table Top Ice Maker
instagram
The ice maker must be unplugged before cleaning it, and use protective gloves when doing so
Always read the manufacturer's directions for mixing cleaning solutions
Rinse all parts with clean water after they have been treated with any type of cleaning solution
All surfaces should then be dried very carefully using cloths avoiding any residues or allowed to dry by themselves
Create and follow a routine for sanitation, adjusting it according to how often you use your ice maker
Be careful about places where minerals are likely to accumulate or molds can multiply
Ice quality should always be evaluated after cleaning sessions
Consult your ice manufacturer’s manual to get the particular cleaning guidelines
Employ food-grade cleaners to prevent any harmful chemicals
Frequently clean or change the water filter to sustain the quality of water
Any strange sounds or reduced efficiency should be dealt with promptly through proper maintanence
Ice scoop should be disinfected every day to avoid bacteria transmission into pure ice